Failure Analysis
Fractography analysis is used to determine the mode in which a material failed.
When materials fracture, surface features are created which are indicative of the failure mode that can be used to determine the origin and cause of the failure. Ductile rupture, brittle rupture, fatigue failure, and failure due to environmental stress cracking all have their own unique morphological patterns. Some modes, like dimple rupture, can also show if the failure was in shear, tension, or torsion.
Approaches
Very often the fracture surfaces must be cleaned before analysis. Cleaning will always begin with the least destructive of techniques.
Some fracture surface features are small enough to only be viewable with microscopy. Optical microscopy and scanning electron microscopy (SEM) are commonly used.
Care must be taken not to put two mating surfaces back together, as the features can be so fine that they may be damaged.

Sample Considerations
Since fractography analysis is conducted with microscopy the sample must be the appropriate size for the microscopy technique with which it is being analyzed.
Scanning Electron Microscopy analysis (SEM) requires that the sample is small enough to fit inside the chamber. If the sample is not conductive our scientists can prepare it for the SEM by sputter coating the sample with a thin conductive layer.Contact us to discuss your specific sample considerations and fractography needs.
Experience
Products we’ve tested:
- We have experience analyzing failed O-Rings.
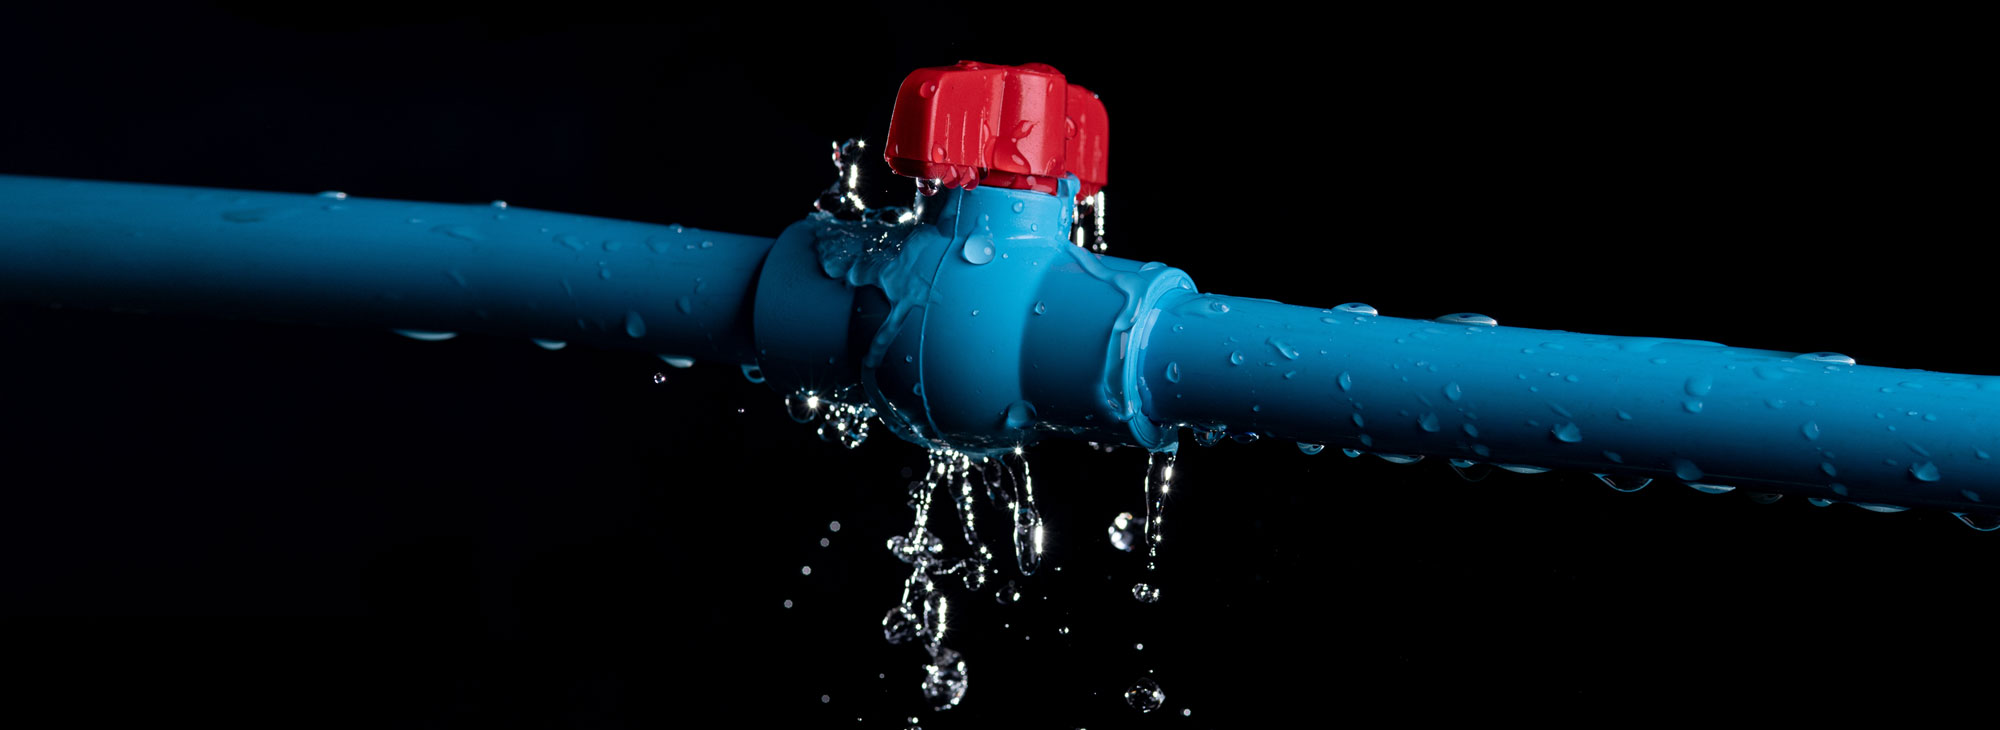
- We’ve also provided analysis on plumbing materials.
