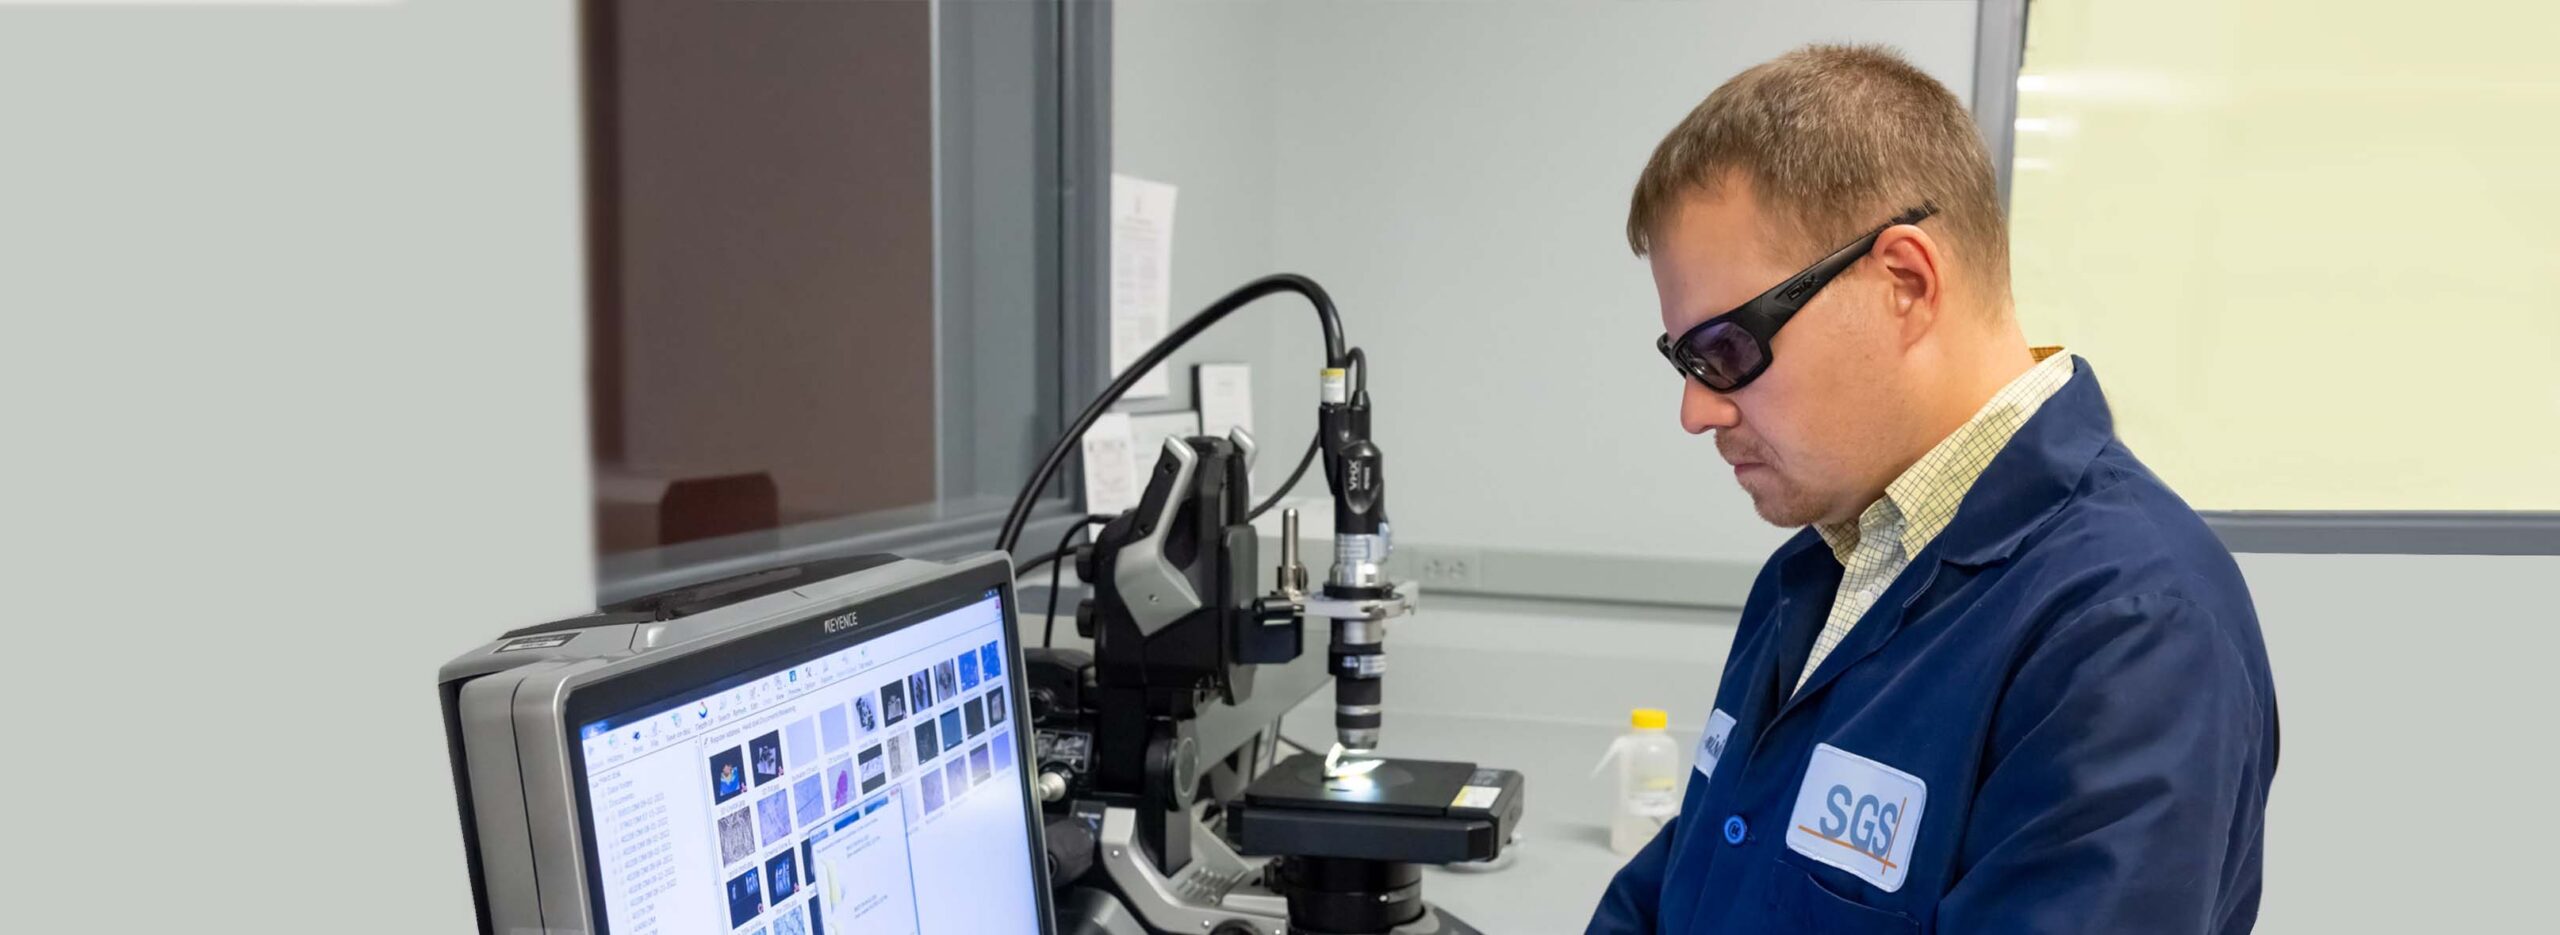
Microscopy
Coating and plating deficiencies can include improper thicknesses, poor adhesion, inhomogeneous application, and more.
A variety of materials are coated with enamels, paints, or metallic layers for many reasons such as enhanced aesthetic appeal, to improve surface hardness, or to prevent corrosion. Our team has the education and experience necessary to determine the nature of your coating and plating deficiencies. Deficiencies can include improper thicknesses, poor adhesion, and inhomogeneous application.
Approaches
The analysis will vary depending on the type of coating or plating problem.
- If the coating or plating is uneven or not the correct thickness, usually microscopy analysis of sample cross-sections can quantify the coating dimensions and variance.
- If the coating or plating is not properly adhering to the substrate, then chemical analysis is combined with microscopy analysis to determine if anything is inhibiting the surface adhesion.
- If the coating or plating is failing prematurely in service, more information will be acquired regarding the service conditions. The analysis will be similar to a material failure investigation

Sample Considerations
It is helpful to have a “good” sample (a sample that hasn’t been exposed to service conditions) and a “bad” sample (a sample that is experiencing the problem being investigated).
The samples will likely have to be reduced in size for microscopic analysis. Cleaning and/ or surface preparation may also be necessary.
If customized coating testing is required, then the amount of sample needed will be discussed beforehand.
Contact us to discuss your specific sample consideration and testing needs.
Experience
We have experience testing a variety of coatings Including oxides on aluminum and ceramic coated polymers.
